This post is also available in: Português
The email signature editor has a feature to edit and manage cells’ borders, which can be very useful for logical elements such as pictures and texts or a better, prettier design. The border feature can also be used to create a vertical line.
Video tutorial:
Adding borders into your email signature
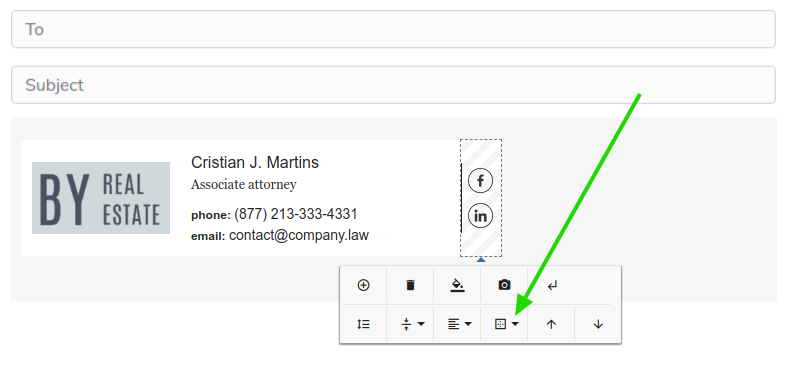
For the option to appear you need to select a cell, this usually appears in all signature fields. You can see an example below.

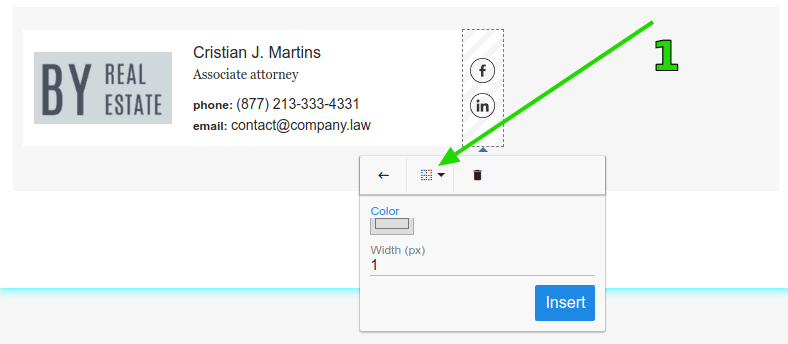
After clicking the borders option, choose the direction you’d like: all sides, only on the left, right, top, or bottom.
In this example, I’ll select only the left side to be added to my table-cell. A popup will appear after I click, with many options for style, size, and colors.
Let’s talk about them below.

Understand the options:
- First, you need to select the style: solid, dotted, dashed, or double. Solid is the default.
- The second step is selecting the color of the border.
- The last step is setting the width of the line, which can be from 1 to 10 pixels.
After the third point, the border will appear in the signature as designed.
Removing a border
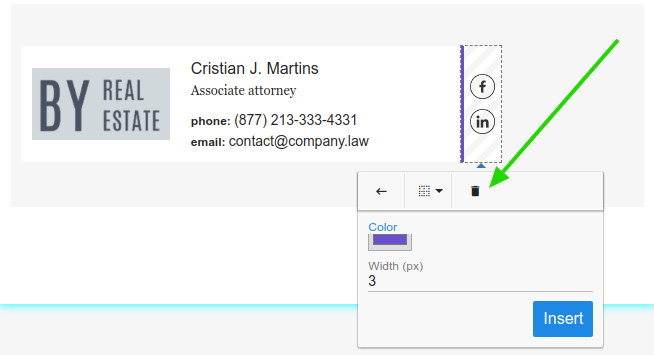
Occasionally, a border may not be needed. It’s possible to erase it and configure a new one, as well as remove it completely. Choose the direction of the border you’d like to delete (everything, left, right, top, or bottom) and then click the trash icon.

Done, the border will be removed. If this doesn’t work, maybe you selected something wrong. Try to remove it with the option to erase all sides.
Related
If you need any clarification or difficulties, please get in touch with our support team via email or chat.
